Residential · Toilets, sinks & showers
Toilet Installation in Markham
Setting a toilet is a wax ring, two closet bolts, a level flange and a supply line that does not kink. We pull the old bowl, check the flange for cracks or rot, set the new one and leak-test it.
- Wax ring and closet bolts renewed when a bowl rocks
- Caulk and grout lines checked around the fixture
- Seized stops replaced while we are there
- Old fixtures and packaging taken away
- Licensed plumbers (details on request)
- Price agreed before work
- Call-only, no forms
- Tested before we leave
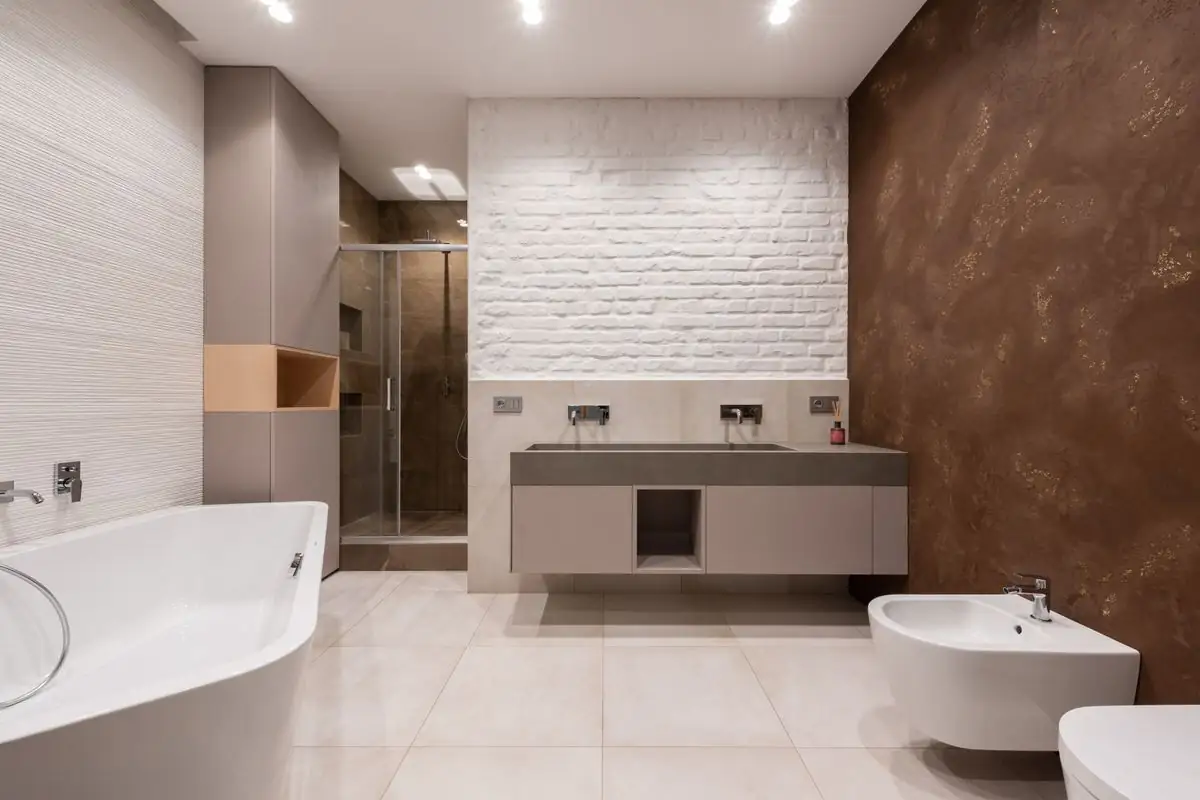
Signs you need toilet installation
The tank or bowl is cracked. Your current toilet clogs often, even with careful use. You are renovating the bathroom. The existing model is decades old and uses far more water per flush than modern fixtures. You want a taller comfort-height bowl, an elongated shape, or a dual-flush mechanism. Or perhaps you are adding a new washroom in the basement and need a toilet installed from scratch.
Our routine on the day
We confirm the rough-in measurement, taken from the finished wall to the middle of the drain flange, so the new toilet fits correctly. Most toilets in Markham homes use a standard rough-in, but older or unusual installations sometimes differ.
The old toilet is drained, disconnected and removed. We clean off the old wax, look over the flange and fix or swap it out if needed. A new wax ring or waxless seal goes on, and the bowl is set level and secured. The tank is mounted, a new supply line connected, and a new shut-off valve installed if the old one is stiff or corroded. Caulking around the base is applied where appropriate, leaving a small gap at the back so any future leak explains itself instead of hiding.
Finally, we flush repeatedly and check the base, supply line and tank bolts for drips.
Markham houses and what shapes this job
Many Markham homes built in the 1990s and 2000s have standard flanges set on plywood subfloors, which makes replacement straightforward. Older homes may have cast iron flanges or flanges set too low after new tile was added, which need extenders or spacers. We check this carefully, since a poorly seated flange is the source of most base leaks.
Basement installations differ. If the toilet sits below the level of the sewer line, it may drain to an ejector pit or use an upflush system. Our basement bathroom rough-in page explains those setups.
Disposal of the old toilet is included when we take it away. Porcelain is heavy and awkward, and most households are glad not to deal with it themselves.
Wall-hung and smart toilets
Wall-hung toilets need an in-wall carrier and are best installed during renovation, when the wall is open. Bidet seats and smart toilets may need an electrical outlet nearby, so planning ahead helps.
Shut-off valves and supply lines are replaced with the toilet as a matter of course when they look tired, since a braided line costs little compared with a flooded floor.
Ring us without delay if
Call promptly if a cracked toilet is leaking. Otherwise, installation can be scheduled at a convenient time. If you are not sure whether repair would work, start with our toilet repair page.
A quieter, efficient toilet is not always the most expensive one in the showroom.
From the job notes of Plumbers in Markham
Job card · Toilets, sinks & showers
On the van for this job
- Basin wrench, tubing cutter and press or compression tools
- Cartridges for common shower and faucet brands
Signs you need this
- The toilet runs or refills on its own
- The shower goes scalding when someone flushes
What we check before we pack up
- Fill and drain the fixture and watch every joint
- Set temperature limits on shower valves
| Fixture | Parts that wear | What to know |
|---|---|---|
| Toilet | Flapper, fill valve, wax ring | Rocking means bolts or wax |
| Shower valve | Pressure-balance cartridge | Access panel saves tile |
Markham note. Builder-grade fixtures in 1990s and 2000s Markham subdivisions are now twenty to thirty years old, which is when fill valves, shower cartridges and the plastic shut-off stops under sinks start to fail.
How the job runs, start to finish
- 1
On the phone
Explain what the water is doing and where. We ask the age of the house and which valve or breaker to shut while we drive over.
- 2
Drop cloths down
Floors and cabinets get covered, the water or gas is isolated and the work area is lit.
- 3
Find the failed part
We open the trap, cleanout, access panel or wall where the fault is, and show you what we found.
- 4
Quote, then work
We explain what failed and what the fix costs; no cutting starts until you say yes.
- 5
Cut, fit, seal
Old parts come out, new pipe, valves or fixtures go in, and joints are soldered, pressed, crimped or glued.
- 6
Test and ticket
We run water, pressure-test or fire the heater, check for drips, clean up and leave a written ticket of what was done.